Pages

Saturday, April 13, 2013

Tip of the Day - Grow Lettuce!

You can buy this beautiful artisan lettuce at Aldi right now for $1.99 a pack.  It's about a dollar more at Walmart.
Or...
You can plant your own! 
One pack of seed cost less than a pack of lettuce and you will harvest at least 10 times more!
It is a cool season plant that needs to be planted early in the spring.
It can be sown in a pot or bed. 
Cut leaf lettuces just above the ground when harvesting and it will grow back again and again.
It does fizzle out or bolt when the weather heats up, but can be replanted again in the fall.
It only takes 4 - 6 weeks from planting until harvest.
Leaf lettuce is extremely easy to grow!

April Gardening Checklist

1. Plant potatoes, peas, spinach, lettuce and other leafy greens and onions if you haven't already.
Radishes, onions, lettuce, garlic, peas and potatoes are all in the ground.
This is a firs year bed.  I will be doing plenty of weeding and mulching!
2. Harden off cabbage and plant. Be sure to protect by covering on super cold days/nights.
3. Start basil, tomato & pepper seedlings - indoors.
We have started nasturtium too.  Well, okay, I confess.  I killed my seed sown basil and so I bought a new plant to replace it because I couldn't wait to have fresh basil.  It is important to keep your seedlings well watered....trust me

4. Plant new beds of asparagus, rhubarb & strawberries.
My asparagus is in the ground.  After a few weeks the plants will be up and I will cover them again with the piled up soil.
5. Plant new shrubs and trees.
6. Fertilize established plants with compost and/or Epsom salts.
7. Divide clumping perennials.
This bad boy seriously needs to be divided and moved.  He also needs the John Deere tractors cleaned out of him.
8. Mulch between and around berries.
9. Plant pansies.  Yes, you can do this even if it snows again this week.  Lord. please don't let it snow again!
10. Direct sow seed poppies, alyssum, bachelor buttons, cosmos and calendulas.
11. Pull any weeds that have already started.  This will save you a lot of headache later on.
12. Remove leaf debris from beds and store for mulch or compost. Check out my free mulch link here!
13. Prune back roses.
~Rebecca
Source: Garden Wisdom and Know-How - Rodale Gardening Books

Thursday, April 11, 2013

Tip of the Day - An Organized Check-out

When you are comp. shopping and/or couponing, it is important to keep your product organized in a way that it makes the job of the cashier a little easier.  Trust me, this will greatly benefit you, especially in the cashier's attitude toward you and the speed in which your transaction is completed.  Keep all of the items that you will be comping together.  Have them checked out either at the beginning or the end of the transaction.  Be sure you have an organized list so that you can quickly tell the cashier the new price, the store the sale price is from and the date of the ad.  Although Walmart's policy has changed to make it easier, I still find it helpful to have any ads you are using with you.  I do still get asked if I have the ad.  It is faster for me to find the add than it is for the cashier to go to the service desk.  
If you are using coupons, I find it easier to to place all of the items you are using coupons for, at the end of the transaction.  Sometimes a cashier has to pull an item out of a bag and look to see if it matches the coupon.  If the register doesn't accept it and it is correct, the cashier can still punch in the savings.  Any 
bogo coupon items should be very last.  The cashier will have to write the price of these items on the coupon.  If it is the last item scanned, the price will be very easy to find.  I also find that it helps to have the bogo coupon scanned last as well. 

Wednesday, April 10, 2013

Tip of the Day - Free Mulch!

 
After you rake out your gardens and clean up your yard, don't toss out those leaves!  
Bag them or pile them up and save them for next spring.  They will break down a little making the perfect free mulch.  You can cover your soil to prevent weeds, or even smother weeds with leaf mulch.  Leaf mulch won't make your soil dry and hard or suck out the nitrogen the way wood mulch does.  You actually get the added bonus of enriching your soil as the leaves break down.
~Rebecca

Semi-Homemade Chicken Pot Pie

Chicken pot pie is a comfort food around our house.  It is something that pleases my meat and potatoes lovin' husband.  And it pleases me because it is a great way to get a variety of veggies into my kiddos.  It is also a dish that has a million ways of making it.  You can take all day perfecting the crust and filling, or you can quickly toss it together and let the oven do the majority of the work for you.
This recipe is the toss together kind.  Literally.  No measuring, just tossing together.
Recipes like this are great personalization.  Feel free to add any other vegetables you like, onions, mushrooms, asparagus, ect.  You can also add any of your favorite seasonings.  Bay, basil or sage would all be great.
Here is how I tossed it together:
I started with a couple of deep dish frozen pie crusts.  As you can see, my son helps me put the groceries away and one crust is a little worse for wear.  Never fear, it can be rescued and turned into a perfect top crust.
Pull these out of the freezer and allow them to warm until (at least the top crust) is soft and pliable again.
Preheat your oven to 350*.
Cook up a couple of chicken breasts.  You could do this on the stove top or use leftovers.  I nuked them in the microwave. I like to turn them every couple of minutes.
Dice up your cooked chicken and season it however you like.  I used onion powder, garlic powder, oregano , salt and pepper.  If your chicken is a little pink when you dice it up, don't worry. It will finish cooking through in the oven.
Toss 3 - 4 cups of veggies into a bowl ( I used frozen mixed veggies) and top it with 1 can of cream of chicken soup and 1/3 of a can of milk.
Season your veggies. Again, I used pepper, garlic, onion powder and oregano.  Stir that together and add your chicken.
Stir the chicken into the veggies and warm it into the microwave until the veggies are no longer frozen.

If it looks a little too juicy, like mine does here, add a few more veggies or a tablespoon of flour.
Pour your chicken and veggie mixture into your bottom crust.
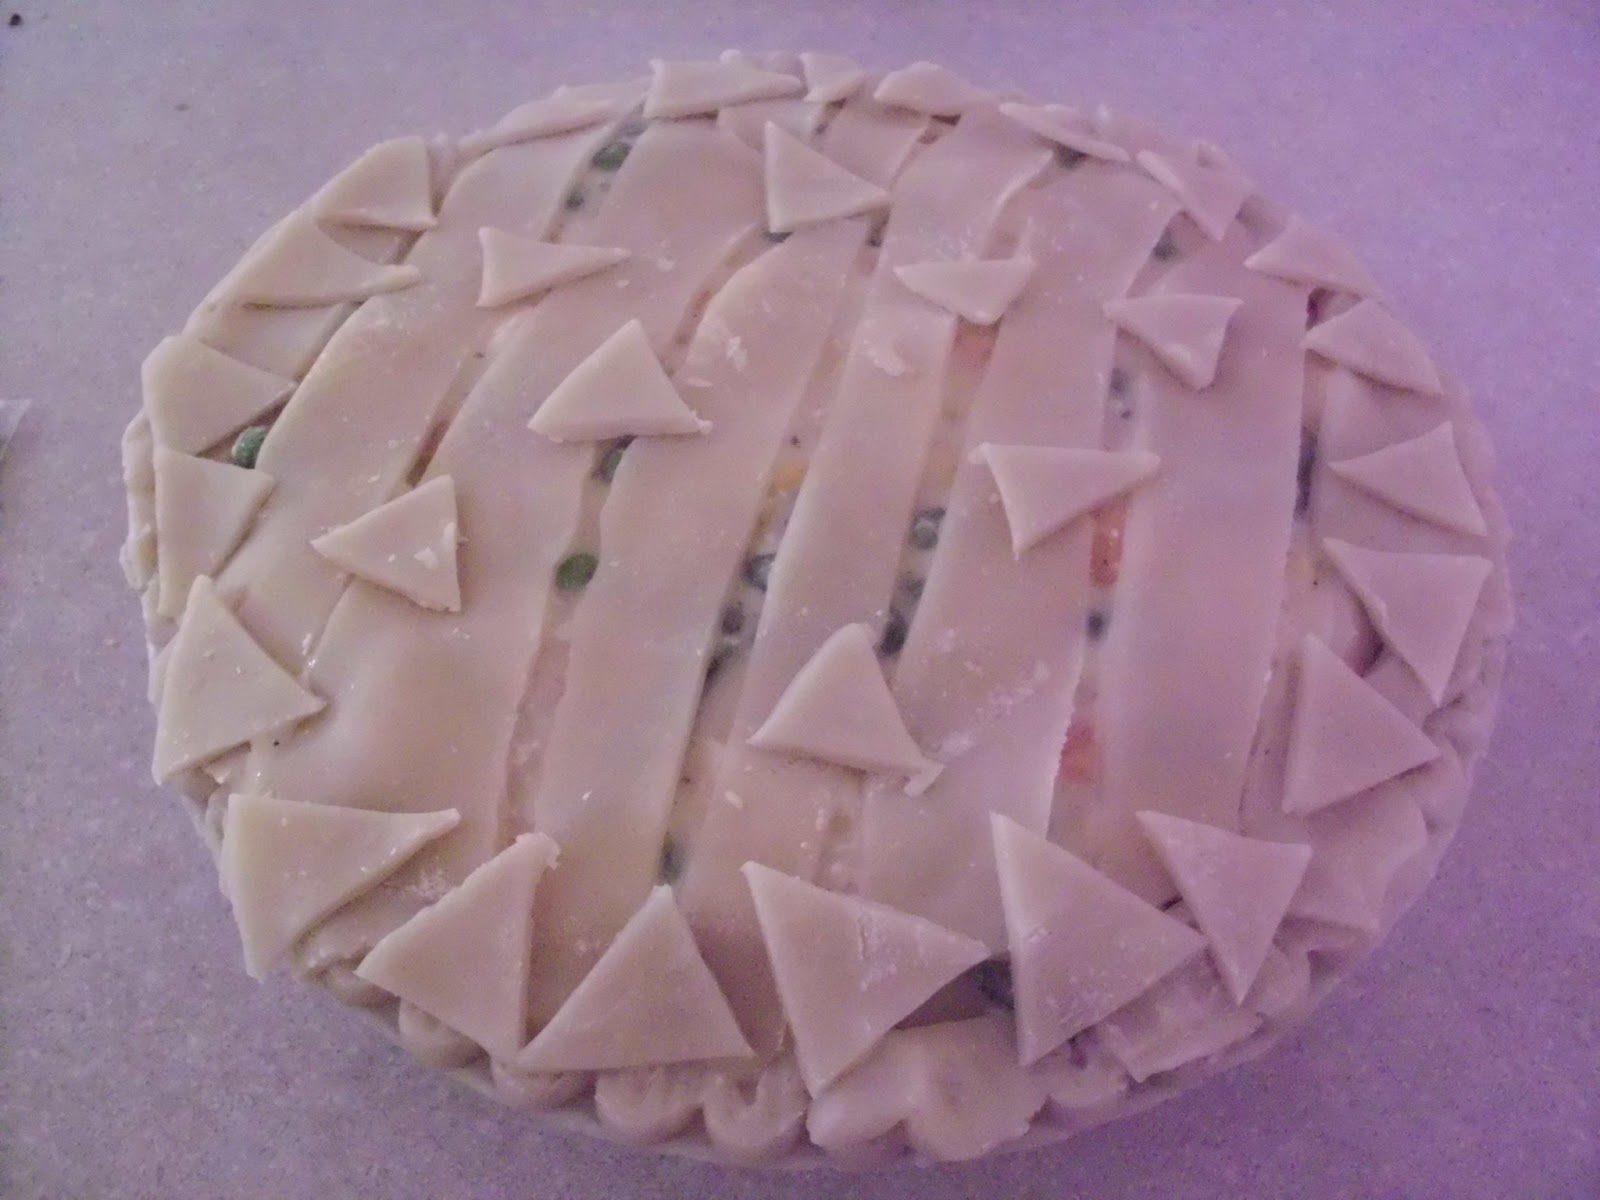
To save my top crust, I cut it into strips.  If you don't need to save your crust, you still need to cut some openings into it.  The pie needs to be able to breath in the oven so that you don't end up with a soggy crust.
I used the extra bits to pretty up my pie. It was kinda ugly before.
Wisk together an egg with a tablespoon of water and brush it over the top of your pie.
Put your pie onto a rimmed baking sheet and put it into the oven.  Bake at 350* for 45 minutes and then turn the heat up to 400* and bake for 15 more minutes, until the crust is golden brown.
Yum!
~Rebecca

Monday, April 8, 2013

Tip of the Day - Frugal Recipes

Here is a great go to site with lots of great homemade recipes.  Her recipes are not only yummy and often from scratch, but they really do stretch your dollar.
Welcome to Hillbilly Housewife!
~Rebecca