I through this salsa together tonight and boy is it good
You will need :
2 cans diced tomatoes ( I used one Italian style with onion and garlic and one with green chili's I suppose stewed would work fine.)
1 large sweet onion
6 large cloves of garlic peeled
4 jalapeno peppers cut in a few pieces (seeds removed for a milder salsa)
1 medium bunch of cilantro, stems removed
7 oz can of diced green chilies
6 tsp ground cumin
2 Tablespoons of fresh lime or lemon juice
2 tsp. salt
4 tsp sugar
4 lb fresh tomatoes 4 large or 8 smaller ones
Place everything except the fresh tomatoes into the work bowl of a food processor. Process until the mixture is as smooth/chunky as you like. Transfer into a large bowl. (This makes a bunch if you want a smaller amount you can cut this in half)
Cut the fresh tomatoes into chunks, and process in the food processor until as finely chopped as you like. Don't over process you don't want tomato puree. Stir the tomatoes into the remaining ingredients in the bowl.
Showing posts with label Savory Recipes. Show all posts
Showing posts with label Savory Recipes. Show all posts
Tuesday, July 30, 2013
Tuesday, July 2, 2013
Banana Pepper Pickles
My banana peppers are almost ready to pick. This reminds me of the lazy pickles I made last year and blogged about on my old blog. I thought it would be fun to share today.
I have to say that I really love banana pepper pickles. Spicy or mild, I love them. On hamburgers, salad or lunch meat, I love them. So, this spring I decided that I was going to make some of my own. Then I planted 8 beautiful pepper plants, and watered, and watered and watered and watered. It's been dry here on the teeny tiny Stephenson ranch.
Well, my beautiful peppers grew and they grew and they grew, and my 5 year old boy picked them and picked them. I found myself with a bunch of peppers and no idea how to pickle them. Well, it just so happened to be baseball season, and I also had no time to pickle them. So, I did something crazy. This is what I did.
 I got out my almost empty dill pickle jar. I ate the pickles left in the jar.
 I washed my peppers.
 I sliced my peppers.
 I rinsed the little bitty seeds out of the pepper slices.

I have to say that I really love banana pepper pickles. Spicy or mild, I love them. On hamburgers, salad or lunch meat, I love them. So, this spring I decided that I was going to make some of my own. Then I planted 8 beautiful pepper plants, and watered, and watered and watered and watered. It's been dry here on the teeny tiny Stephenson ranch.
Well, my beautiful peppers grew and they grew and they grew, and my 5 year old boy picked them and picked them. I found myself with a bunch of peppers and no idea how to pickle them. Well, it just so happened to be baseball season, and I also had no time to pickle them. So, I did something crazy. This is what I did.
Then I plopped them into the jar of pickle juice.
The very next day, I had pickled peppers.
Then, I called my grandma. I told her that I did this crazy thing. She laughed and said that she has done the same thing before, too.
Oh, and guess what. It works with beets and bread & butter pickle juice too. And, according to Grandma, it works with cucumbers as well.
Monday, June 24, 2013
Light and Tasty Chicken Salad
Light and crunchy, sweet and savory, this chicken salad is wonderful as a simple sandwich on whole wheat bread. It would also be perfect dressed up on a pretty roll.
Here's how you make it:
Ingredients:
4 cups of cooked chicken, chopped
1/2 cup onion, diced
1/2 cup celery, diced
1 cup grapes, halved
1/2 cup dried cranberries
1/2 cup plain yogurt
1/2 cup mayonnaise
1/2 tsp. garlic powder
1/2 tsp. salt
1/2 tsp. pepper
1 tsp. lemon juice
1/2 cup chopped pecans


Mix well.


Slap some between two yummy pieces of bread and have a little lunch!

This is great for a make-ahead lunch or a picnic!
Friday, May 31, 2013
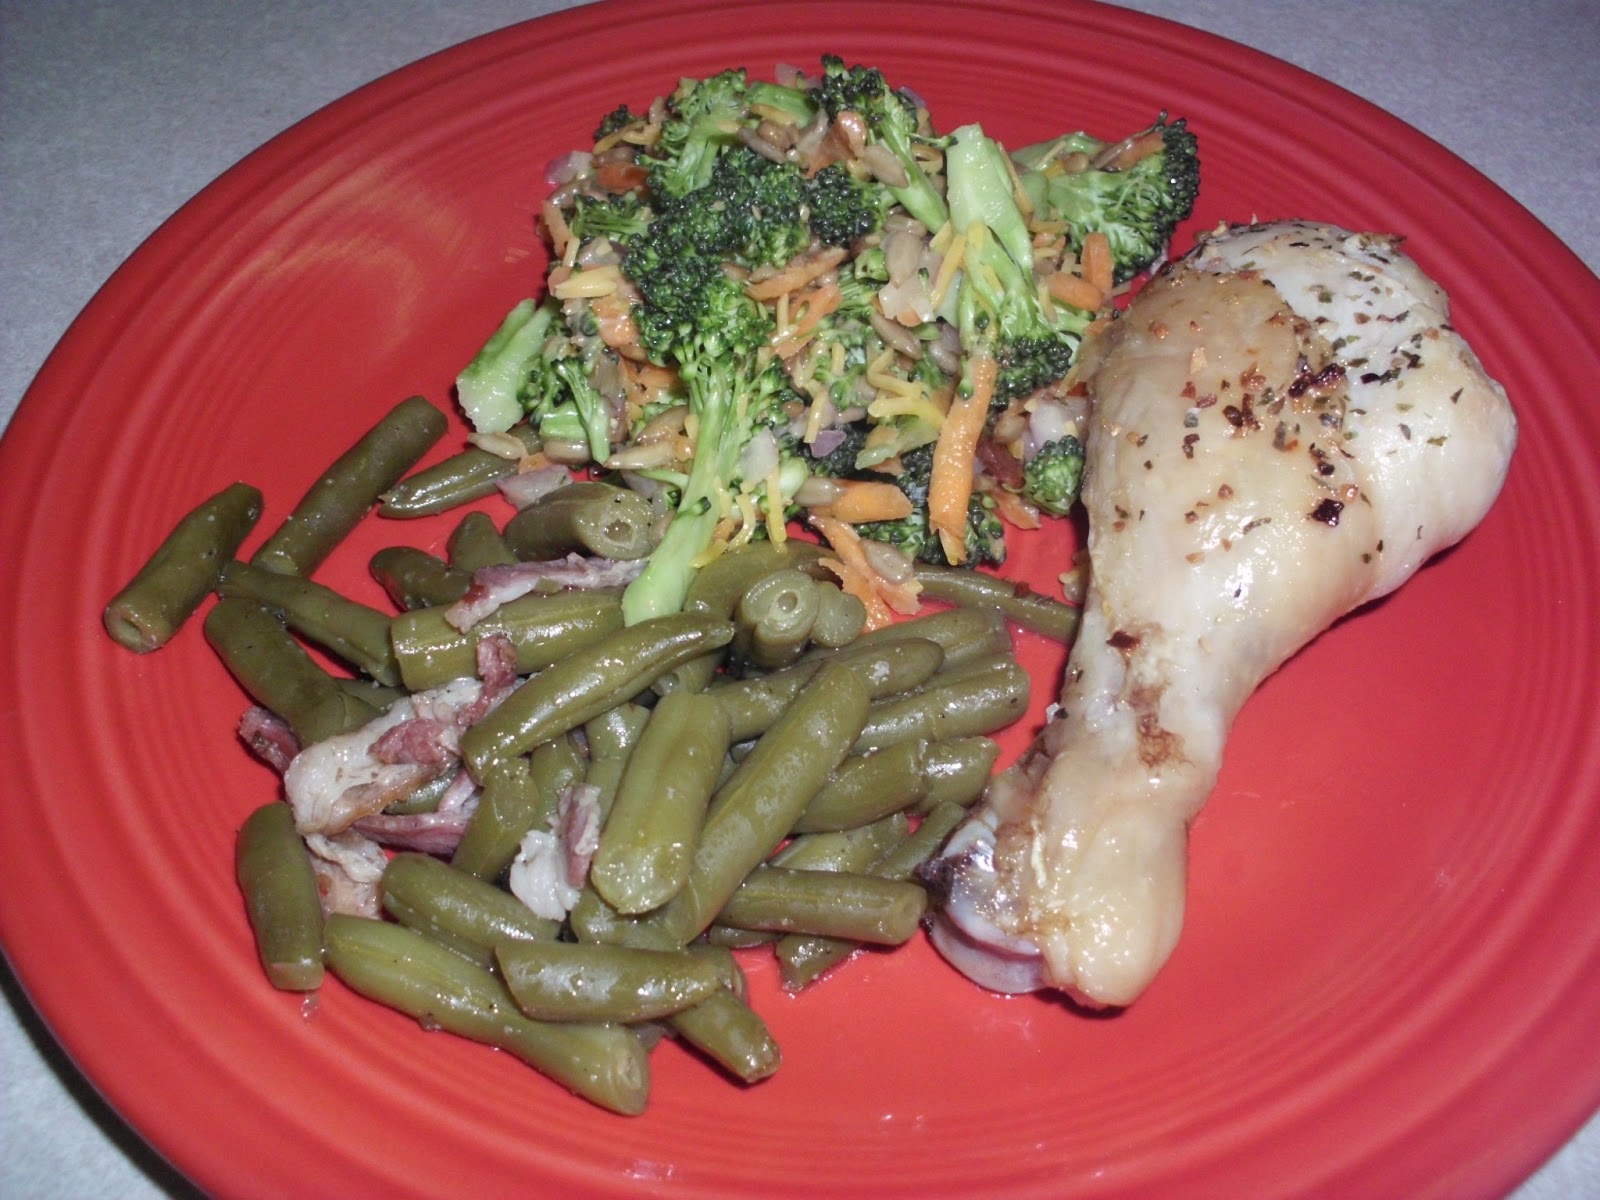
Broccoli Salad
Ingredients:
1/4 cup mayonnaise or salad dressing
2 tsp sugar
1 tsp balsamic vinegar
2 slices of bacon - cooked & crumbled
4 cups of broccoli
1/2 cup carrots - shredded
1/2 cup red onion - finely diced
1/2 cup cheddar cheese - shredded
1/2 cup roasted sunflower seeds

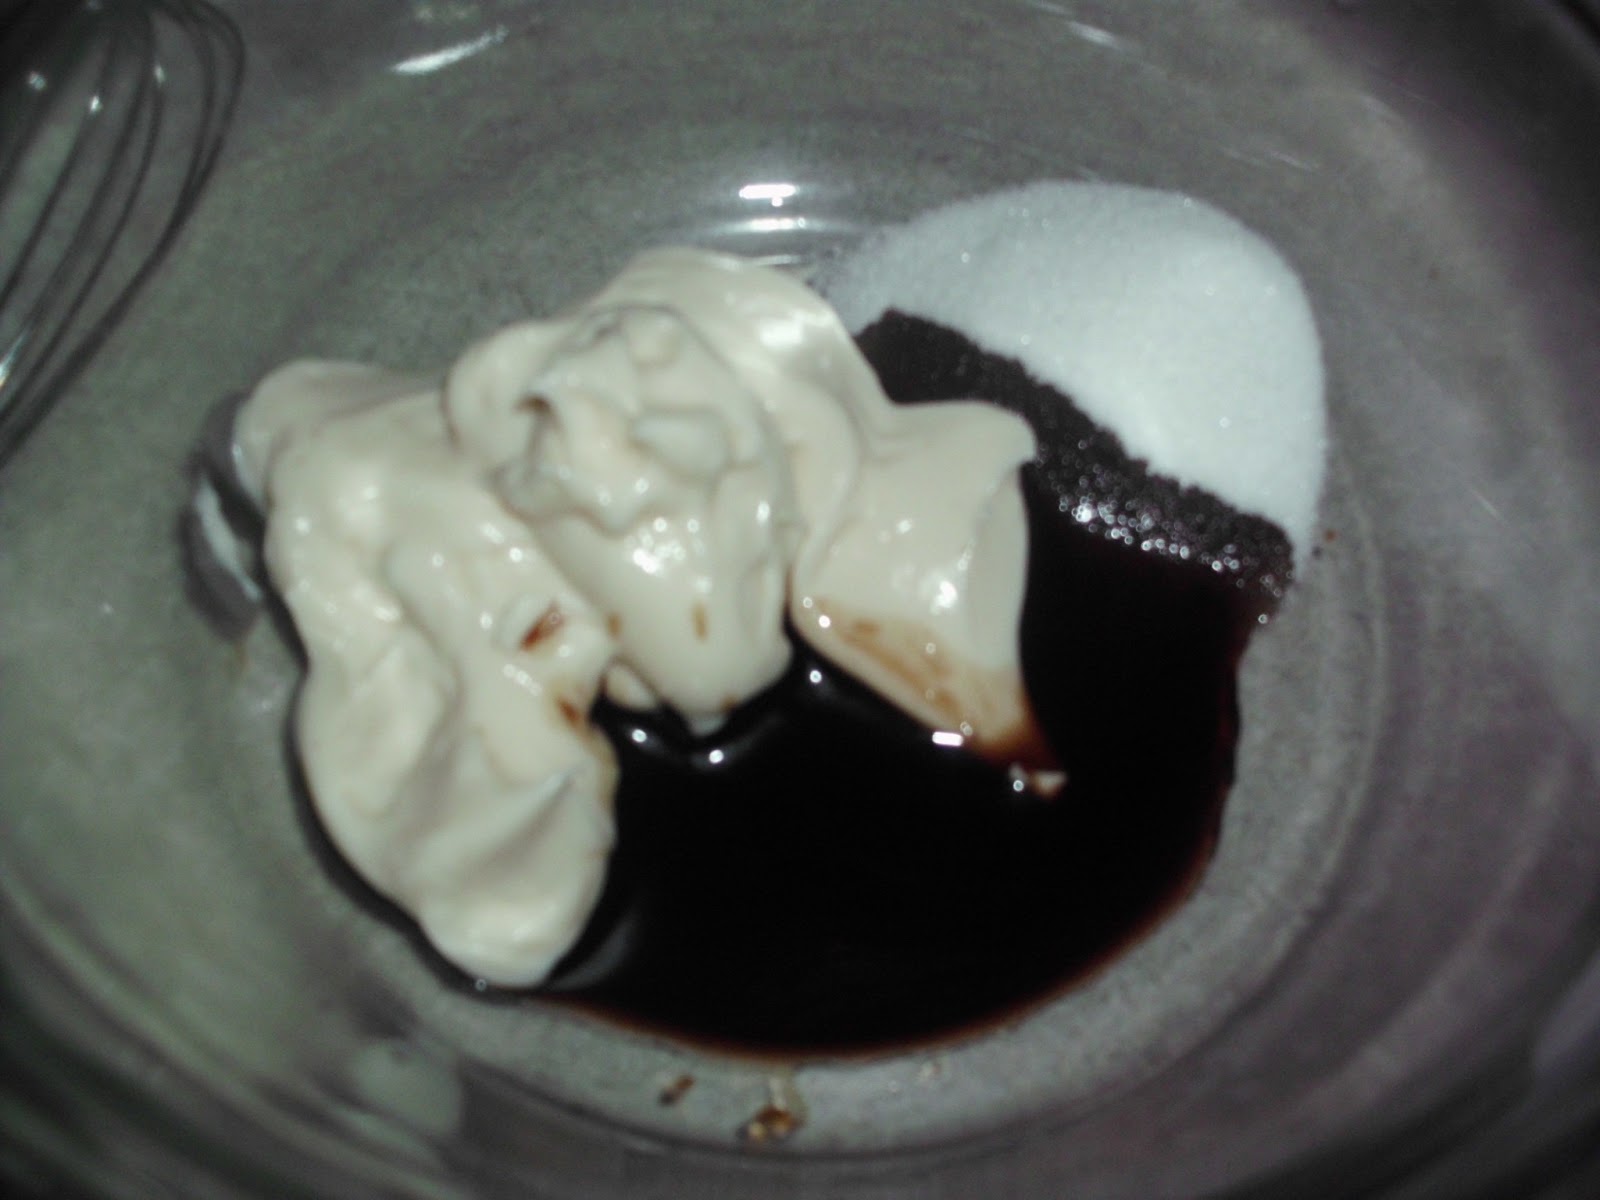
In a small bowl, measure out the mayonnaise, sugar and vinegar.

Whisk until combined and smooth.
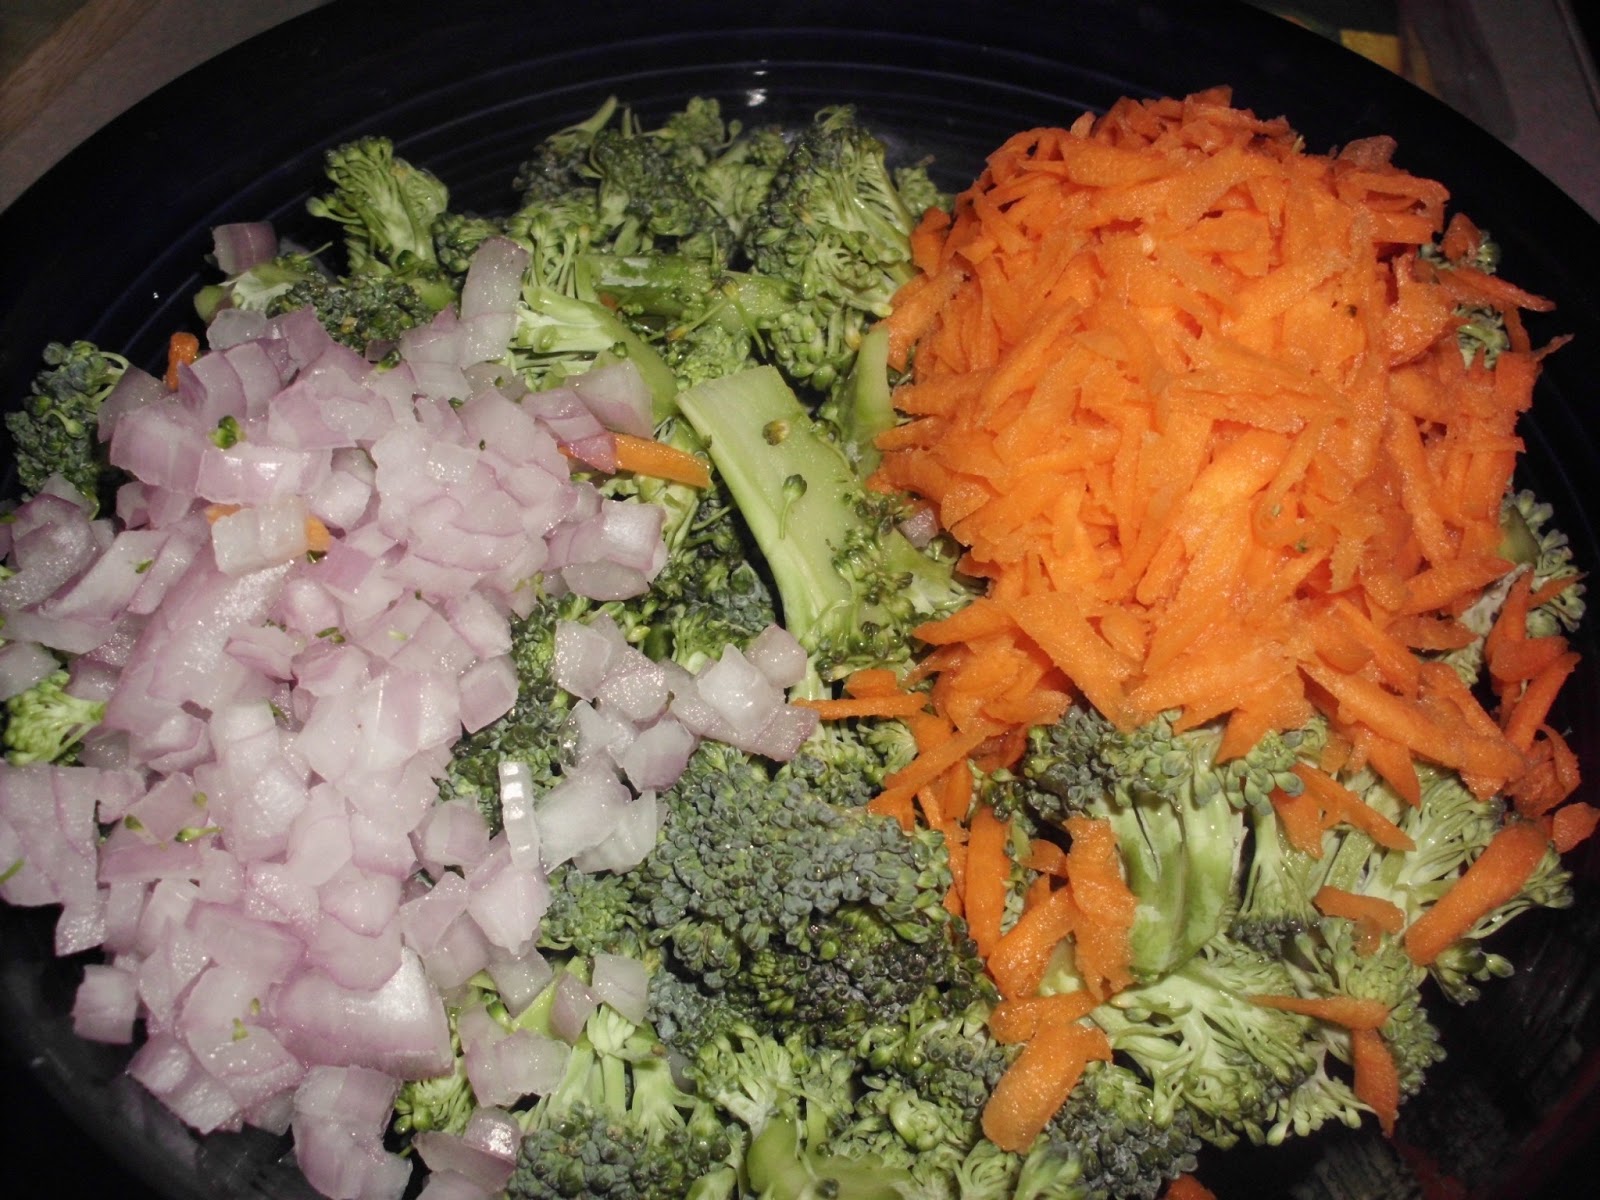
In a large bowl combine your broccoli, onion and carrots. Stir together well.

Add bacon, sunflower seeds and cheese. Stir well to combine.

Chill for 15 to 30 minutes before serving.
Sunday, April 28, 2013
French Bread with Herbs
Here is an old favorite recipe that I am moving over from my old Teeny Tiny Kitchen Blog. Early spring it the perfect time to harvest chives for this bread!
The beauty of this recipe is that it is easily changed up and customized to what you like best, or what you have on hand. I made mine with butter and chives. The Stephenson Ranch has some lovely chives out in the herb garden.

And, butter just happens to be one of my favorite ingredients of all time.

So, I married the two and came up with this:

Here is how I did it:
Ingredients:
French Bread (I used a loaf of homemade whole wheat I had made the day before.)
Butter ( Salted, although you could substitute olive oil.)
Chives (Again, you could substitute or mix your favorite herbs. Rosemary is wonderful, too!)
Slice the loaf of French Bread down the middle lengthwise, and place on a large cookie sheet.
The spread each loaf generously with the softened butter. I used a half of a stick of butter on the two loaves (my jeans have been tight lately). However, it is absolutely insanely yummy when you use a whole stick.
Then pop them into a 350* oven for 8 to 10 minutes.
During this time the butter will melt down into the bread and the bottom and outside of the crust will begin to toast.
Pull it out and sprinkle on the herbs, as light or heavy as you would like.
Put it back into the oven, but this time broil it on high for about 2 minutes.
Keep a close eye on it!!! You want the butter to caramelize and the edges of the bread to really brown up, but you don't want any burning. If you take you eyes off of it, it can really burn fast!


Friday, April 26, 2013
Fried Dandelion Blossoms - From Mother Nature's Grocery Store
Did you know that you can eat dandelions? Did you know that dandelions are good for you? We use the green in fresh salads and we fry up the blossoms. Fried dandelion blossoms is something that my grandmother made for us as a special treat. We loved them and always gobbled them up just as soon as she plucked them out of the oil. Now, this time of year, my own kids are clamoring for me to fix them fried dandelion blossoms. If you have never tried them, you should.
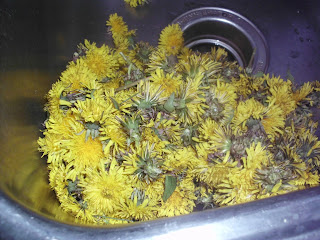 First, send your kiddos out to pick dandelion blossoms. Chances are they will pick too many, but in this recipe, you only need about 4 cups.
 Each blossom needs to have the stem completely removed. Any remaining stem will cause a very bitter blossom. Just pinch them off.
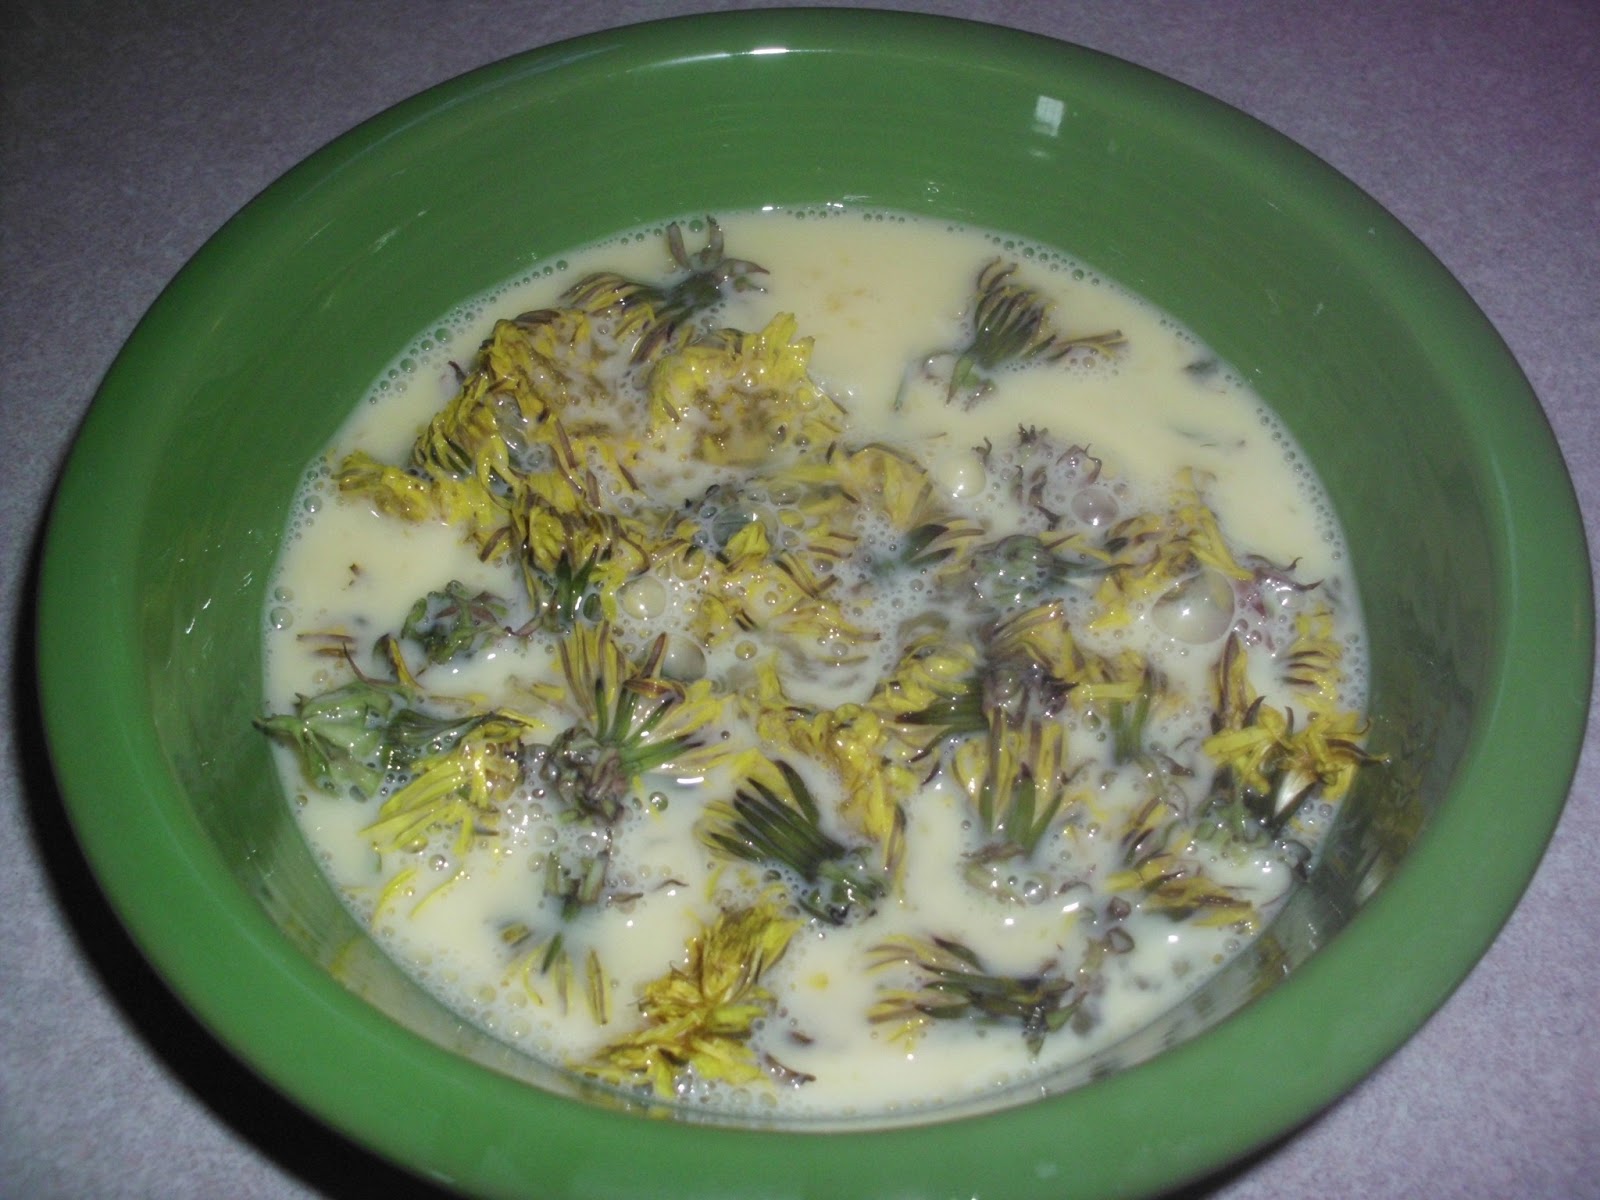
 Toss the blossoms into a large bowl with about 2 quarts of cool water and a handful of salt tossed in. Give the blossoms a bit of a swish with your hand to knock off any dirt and bugs. Soak the blossoms for at least 1 hour, but not more than 2. This is going to completely remove any bugs from deep inside the flower and kill them.
 Scoop the blossoms out of the bowl, leaving the dirt in the bottom and move the blossoms over to a strainer and give them a good rinse. Shake out as much excess moisture as possible and leave them to strain while you prepare your breading and egg wash. You should also preheat your canola oil. I fry mine up on medium heat.
 In one bowl whisk together 3 eggs and 1/4 cup of milk. In another bowl, measure out about 2 cups of flour.
 Toss a handful of blossoms into the egg wash.
 Then, dredge in the flour, shaking off excess flour.
 Carefully place the blossoms into the hot oil and allow them to fry until the bottom side is golden brown.
 Flip the blossoms with a slotted spoon and remove when the entire blossom is golden brown.
 With a slotted spoon, remove from the hot oil and place on a plate with a dry paper towel. Allow the paper towel to soak up the excess oil. Lightly salt, to taste, each batch as soon as it is placed on the towel.

Before diving into the recipe, I want to make a special note, Never used dandelions that have been sprayed with pesticide or herbicide or fertilizer (although I don't know anyone who fertilizes dandelions, you can never be too safe).
Here is how you make these special treats:
Ingredients:
2 quarts of cool water
4 cups of dandelion blossoms
1 palm full of salt
3 eggs
1/4 cup of milk
2 cups of flour
Canola oil - enough to submerse the blossoms, the amount will depend upon the size of pan you use


Dandelions are best served up with your favorite summertime sandwich and fruit!
Thursday, April 25, 2013
Healthier Butter Spread
Butter is among one of my favorite ingredients, I have to admit. Although it is much healthier than margarine made with fake ingredients, butter does have a lot of saturated fat. I like to make my own healthier spread, which still has some butter, so it has that great butter flavor, but it is blended with olive oil and coconut oil. Olive and coconut oils are made entirely of the good for you fats. Coconut oil is a solid at room temperature, but if you heat it up just a little bit, it melts. This makes for a lovely spread.
Here is how you make the spread:
Ingredients:
1 stick of butter, softened
1/2 cup coconut oil, solid, not liquid
1/4 cup olive oil
1/4 teaspoon salt
If you are not crazy about the olive oil taste, or want something with a more neutral flavor, substitute canola oil for the olive oil. Canola is a heart healthy fat as well.


 Pour the spread into a container with a lid. At this point the spread is a little too runny because the mixing has warmed up the coconut oil. Seal it up and pop it into the fridge for a bit. After it chills, it will be a firmer consistency, more like butter. If you want it to be more spreadable just let it sit out on the counter for about 5 minutes to warm up.
~Rebecca
Here is how you make the spread:
Ingredients:
1 stick of butter, softened
1/2 cup coconut oil, solid, not liquid
1/4 cup olive oil
1/4 teaspoon salt
If you are not crazy about the olive oil taste, or want something with a more neutral flavor, substitute canola oil for the olive oil. Canola is a heart healthy fat as well.

Cream together butter and coconut oil.

Toss in the salt.
Then stream in the olive oil.

Blend until thoroughly combined.

~Rebecca
Wednesday, April 24, 2013
Roast Sausage and Veggies

Here is the recipe:
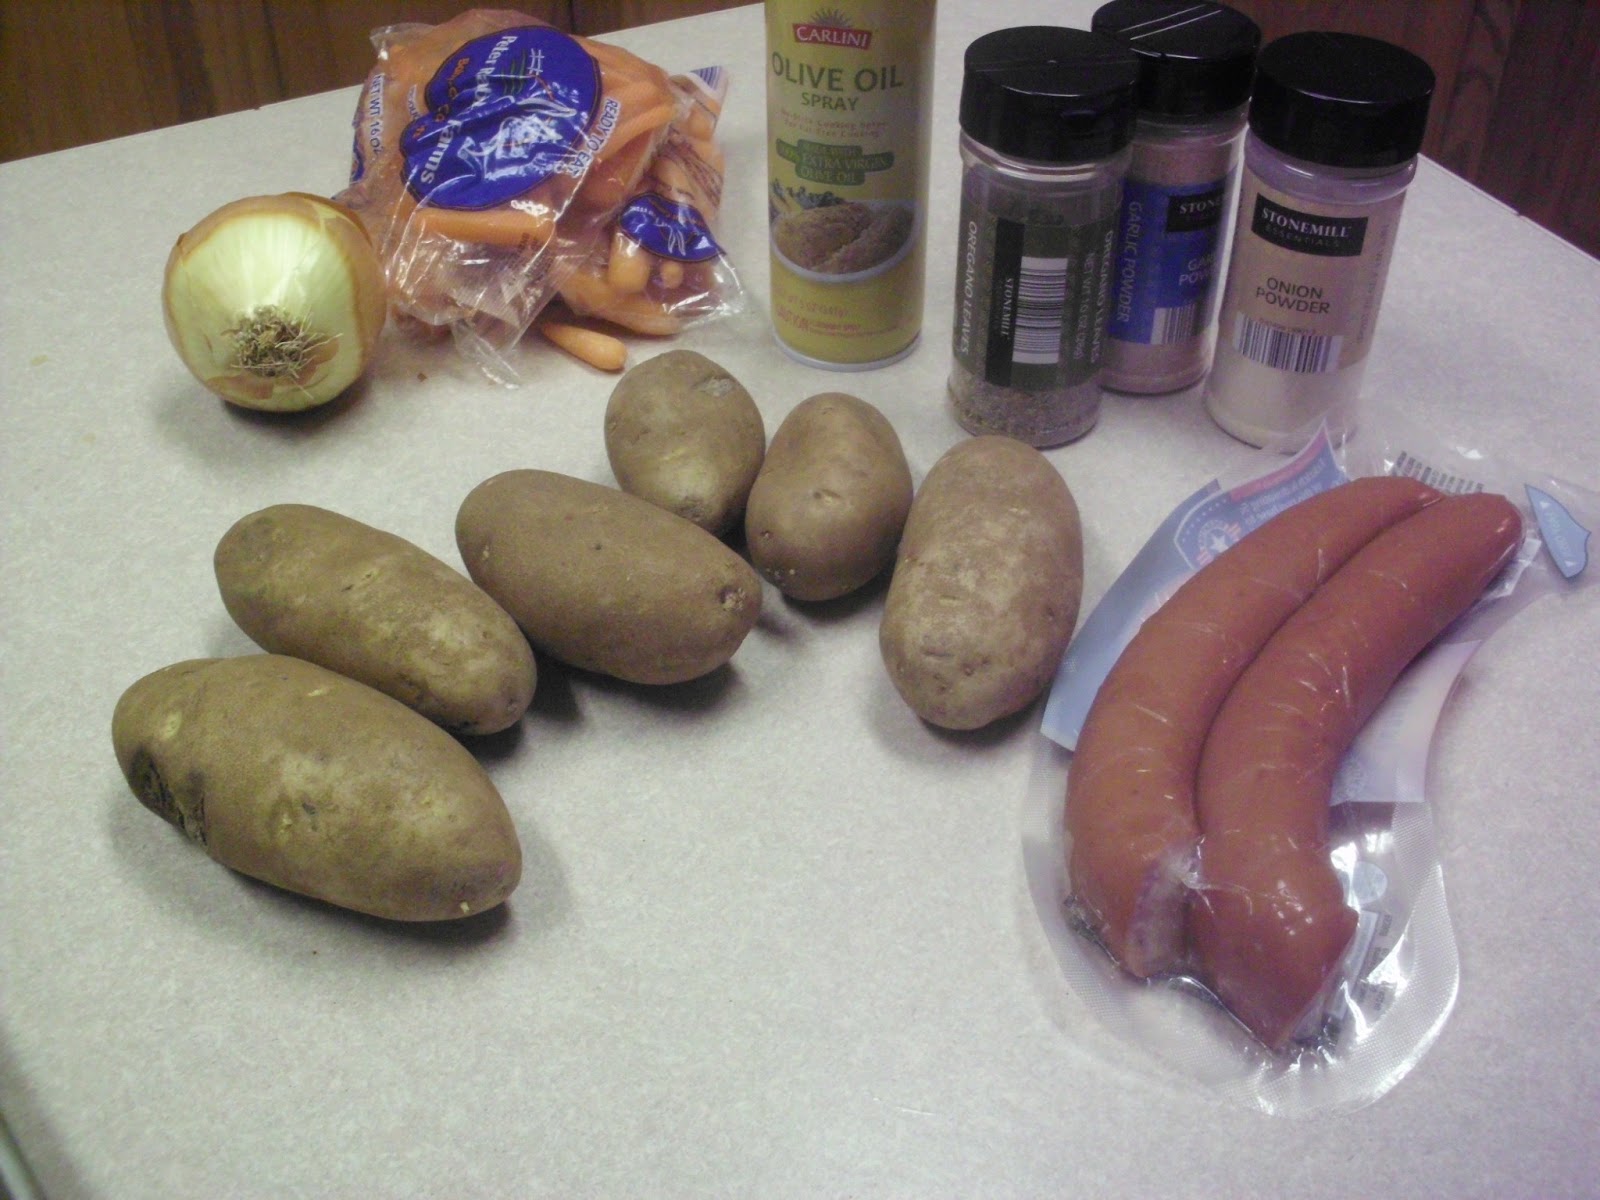


Bake in a 425* oven for 45 minutes to 1 hour. You want your veggies to be slightly golden brown and softened.

Wednesday, April 10, 2013
Semi-Homemade Chicken Pot Pie
Chicken pot pie is a comfort food around our house. It is something that pleases my meat and potatoes lovin' husband. And it pleases me because it is a great way to get a variety of veggies into my kiddos. It is also a dish that has a million ways of making it. You can take all day perfecting the crust and filling, or you can quickly toss it together and let the oven do the majority of the work for you.
This recipe is the toss together kind. Literally. No measuring, just tossing together.
Recipes like this are great personalization. Feel free to add any other vegetables you like, onions, mushrooms, asparagus, ect. You can also add any of your favorite seasonings. Bay, basil or sage would all be great.
Here is how I tossed it together:
 I started with a couple of deep dish frozen pie crusts. As you can see, my son helps me put the groceries away and one crust is a little worse for wear. Never fear, it can be rescued and turned into a perfect top crust.
Pull these out of the freezer and allow them to warm until (at least the top crust) is soft and pliable again.
Preheat your oven to 350*.
 Cook up a couple of chicken breasts. You could do this on the stove top or use leftovers. I nuked them in the microwave. I like to turn them every couple of minutes.
 Dice up your cooked chicken and season it however you like. I used onion powder, garlic powder, oregano , salt and pepper. If your chicken is a little pink when you dice it up, don't worry. It will finish cooking through in the oven.
 Toss 3 - 4 cups of veggies into a bowl ( I used frozen mixed veggies) and top it with 1 can of cream of chicken soup and 1/3 of a can of milk.
 Season your veggies. Again, I used pepper, garlic, onion powder and oregano. Stir that together and add your chicken.
 Stir the chicken into the veggies and warm it into the microwave until the veggies are no longer frozen.

If it looks a little too juicy, like mine does here, add a few more veggies or a tablespoon of flour.
Pour your chicken and veggie mixture into your bottom crust.
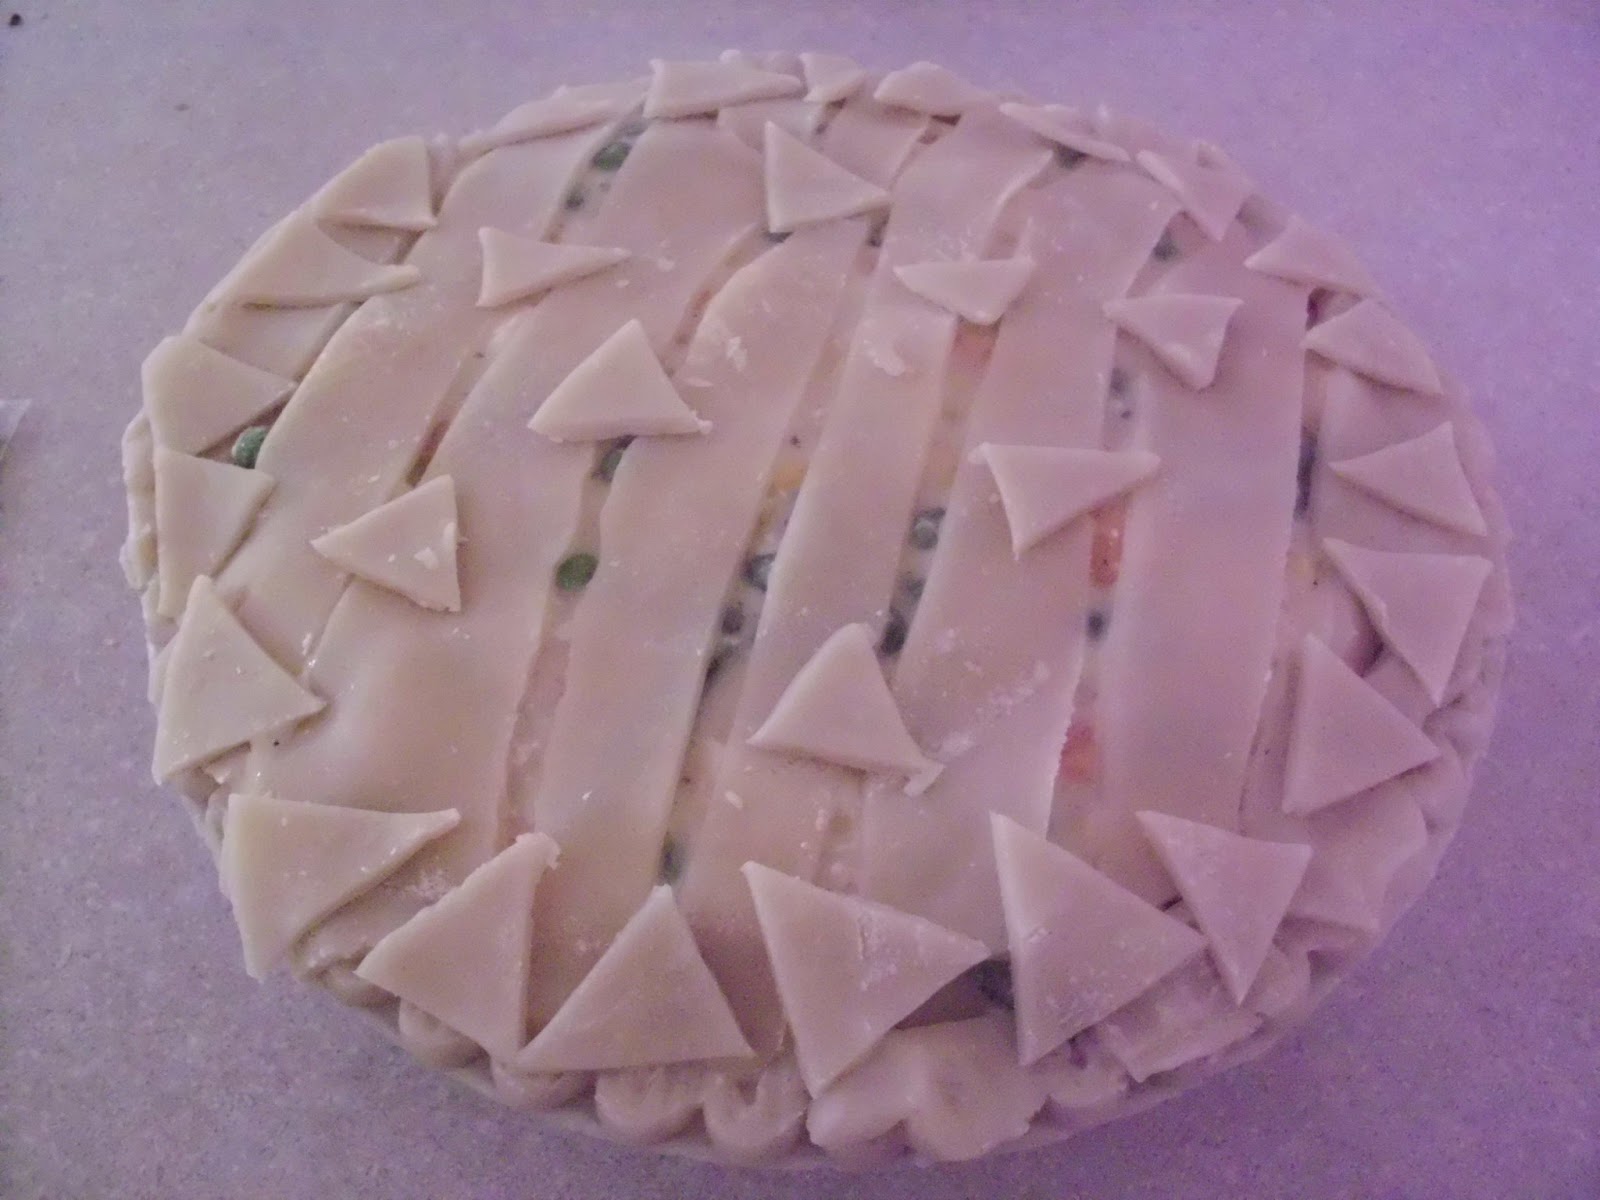
 To save my top crust, I cut it into strips. If you don't need to save your crust, you still need to cut some openings into it. The pie needs to be able to breath in the oven so that you don't end up with a soggy crust.
 I used the extra bits to pretty up my pie. It was kinda ugly before.
 Wisk together an egg with a tablespoon of water and brush it over the top of your pie.
Put your pie onto a rimmed baking sheet and put it into the oven. Bake at 350* for 45 minutes and then turn the heat up to 400* and bake for 15 more minutes, until the crust is golden brown.

This recipe is the toss together kind. Literally. No measuring, just tossing together.
Recipes like this are great personalization. Feel free to add any other vegetables you like, onions, mushrooms, asparagus, ect. You can also add any of your favorite seasonings. Bay, basil or sage would all be great.
Here is how I tossed it together:

Pull these out of the freezer and allow them to warm until (at least the top crust) is soft and pliable again.
Preheat your oven to 350*.


If it looks a little too juicy, like mine does here, add a few more veggies or a tablespoon of flour.
Pour your chicken and veggie mixture into your bottom crust.


Put your pie onto a rimmed baking sheet and put it into the oven. Bake at 350* for 45 minutes and then turn the heat up to 400* and bake for 15 more minutes, until the crust is golden brown.

Yum!
~Rebecca
~Rebecca
Subscribe to:
Posts (Atom)